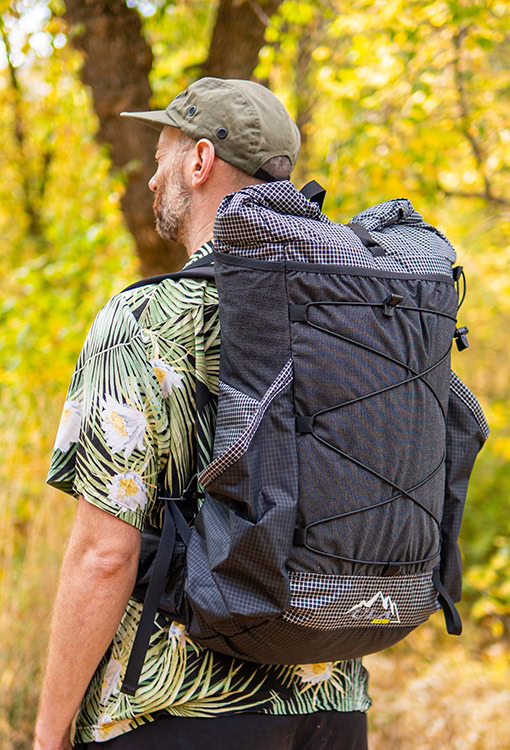
THIS PACK FITS GARRETT PERFECTLY
How to Measure for the Perfect Torso and Hip Belt Fit on Your Backpack
Properly fitting a backpack is essential for both comfort and safety when you’re out on the trail, whether you’re hiking for a day or embarking on a long thru-hike. A poorly fitting backpack can lead to a variety of issues, including back pain, shoulder strain, and even long-term injuries that can cut your adventure short. Many hikers don’t realize that the most common cause of discomfort is often an ill-fitted pack, which can result from not taking the time to properly measure yourself or adjust your gear. Unfortunately, discovering that your backpack is the wrong size after you’ve already set out on your thru-hike is a mistake no one wants to make, especially when you’re miles away from the nearest outfitter or post office. The good news is that with a few simple steps, you can avoid this painful and frustrating scenario which can take you off trail sooner rather than later… In this guide, we’ll walk you through how to measure yourself for a proper torso and hip-belt fit, ensuring that your backpack fits perfectly, providing both comfort and support on every hike.
Step 1: Measure Your Torso Length
When it comes to hiking and backpacking, comfort and functionality start with a properly fitting backpack. A backpack that doesn’t fit well can lead to discomfort, strain, and even injury on long hikes. One of the most critical steps in selecting the right pack is measuring your torso length. Here’s a comprehensive guide to ensure your backpack fits like a dream.
Why Torso Length Matters
Backpacks with hipbelts as part of their support system are designed to transfer load onto the hips and utilize the shoulders more for stabilization with light load bearing. Understanding your torso length ensures the backpack’s harness system aligns properly with your body, allowing the weight to be distributed comfortably. Backpacks that are too short for your torso will pull directly on your shoulders and packs that are too long for your torso will push the straps above your shoulders giving you a bouncy pack experience and stoic hips.
What You’ll Need
- A flexible measuring tape or piece of string to measure
- A friend to help (optional, but very useful)
- A mirror (if measuring solo)
Step-by-Step Guide to Measuring Your Torso Length
- Find Your C7 Vertebra
- Tilt your head forward slightly.
- Feel for the prominent bone at the base of your neck where your shoulders meet. This is your C7 vertebra, the starting point for measuring your torso.
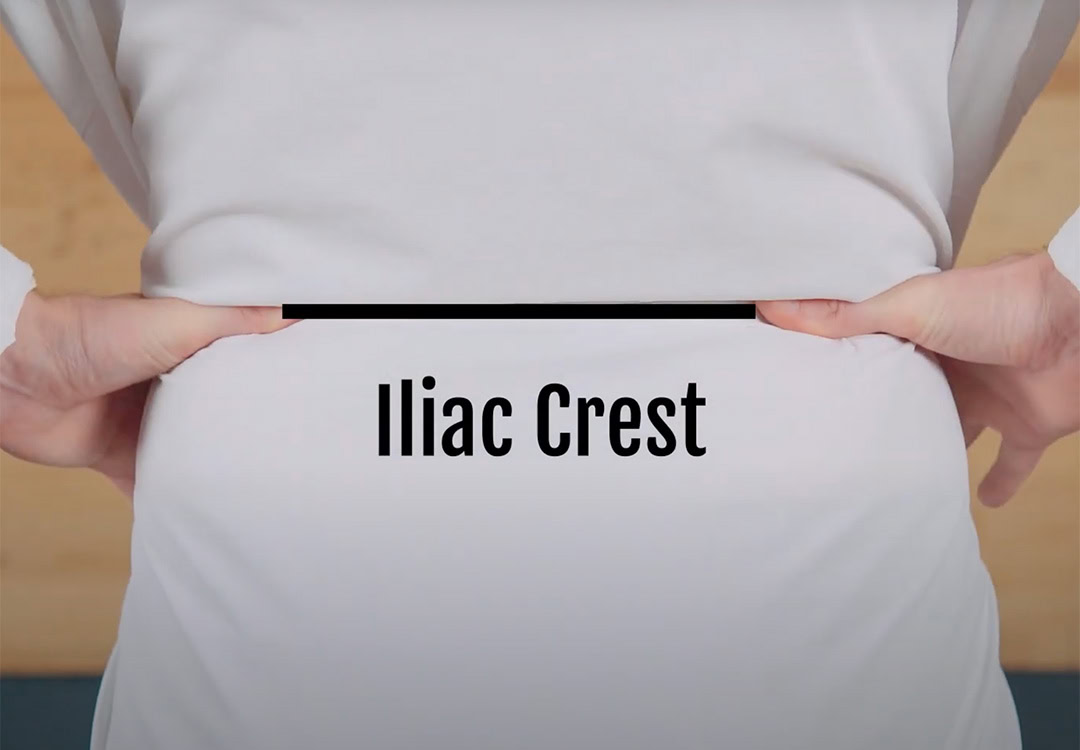
- Locate Your Iliac Crest
- Place your hands on your hips and press inward until you feel the top of your hip bones. This is your iliac crest.
- Draw an imaginary line between these points across your back. Where this line meets your spine is the bottom point for torso measurement.
- Measure the Distance
- Stand up straight and ask a friend to measure from the C7 vertebra down to the point where your iliac crest line intersects your spine. If you’re measuring alone, use a mirror and carefully measure the same points.
- Record this measurement in inches.
Torso Size Guidelines:
- Extra Small (XS Circuit + Kid’s Spark only): 12” – 18”
- Small: 15” – 18”
- Medium/Regular: 18” – 21”
- Large: 21” – 24”
- Xtra Large: 24”+
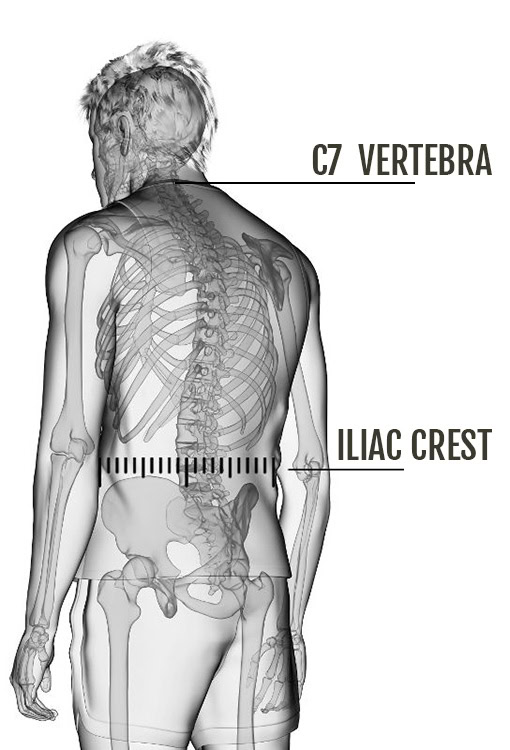
YOUR TORSO MEASURES FROM THE C7 TO ILIAC CREST

LOOK DOWN FOR THE C7
Step 2: Measure Your Hip Belt Size
A properly fitted hip belt is crucial for transferring the weight of your pack to your hips, where it can be carried more efficiently. We recommend maintaining about 4-8 inches between the wings of your hip belt. Hip belts that are too small will not leave any room to properly secure it. Hip belts that are too large will cause the pack to slide down as you hike. This happens primarily at the end of a thru-hike when you’ve lost all the weight you started with when you ordered your pack 5 months prior. All of our framed backpacks feature removable hip belts and allow you to swap one size for another. Here’s how to measure for the right hip belt size:
Men
When measuring for a hip-belt for men, we recommend adding 2 inches to your pant waist size. For example, if you typically wear pants with a 34-inch waist, that would put you in the medium hip-belt which has a range of 34” – 38”. If you find that you’re on the larger end of the hip-belt size range we recommend sizing up to the next one.
Women
For women, the ideal hip belt size depends on your body shape, specifically the contours of your hips.
- Curvy Hips: If you have curvy hips, measure the smallest part of your waist and add 5 inches to determine your hip belt size. For example, if your waist measures 28 inches, your hip belt size would be around 33 inches. This extra allowance accommodates the difference in proportions between your waist and hips, ensuring a snug but comfortable fit.
- Straight Hips: If your hips are less curvy, you’ll measure the smallest part of your waist and add 3 inches. For example, with a waist measurement of 30 inches, your hip belt size would be approximately 33 inches. This method ensures that the hip belt aligns comfortably with your hip bones while maintaining stability and preventing slippage.
Understanding your body shape is essential for selecting the right hip belt, as a proper fit enhances both comfort and load distribution during your adventures.
Kids
For kids, measuring for a hip belt involves taking the smallest part of their waist and adding 2 inches. For instance, if their waist measures 20 inches, the appropriate hip belt size would be 22 inches. This straightforward guideline ensures that the hip belt provides adequate support without being too loose or restrictive, accommodating the natural movements of active children. A well-fitting hip belt is vital for younger hikers to prevent strain and keep their load secure as they explore the outdoors.
Hip-belt Size Guidelines:
- Xtra Small: 26” – 30”
- Small: 30” – 34”
- Medium: 34” – 38”
- Large: 38” – 42”
- Xtra Large: 42” -47”
- XXL: 47”+
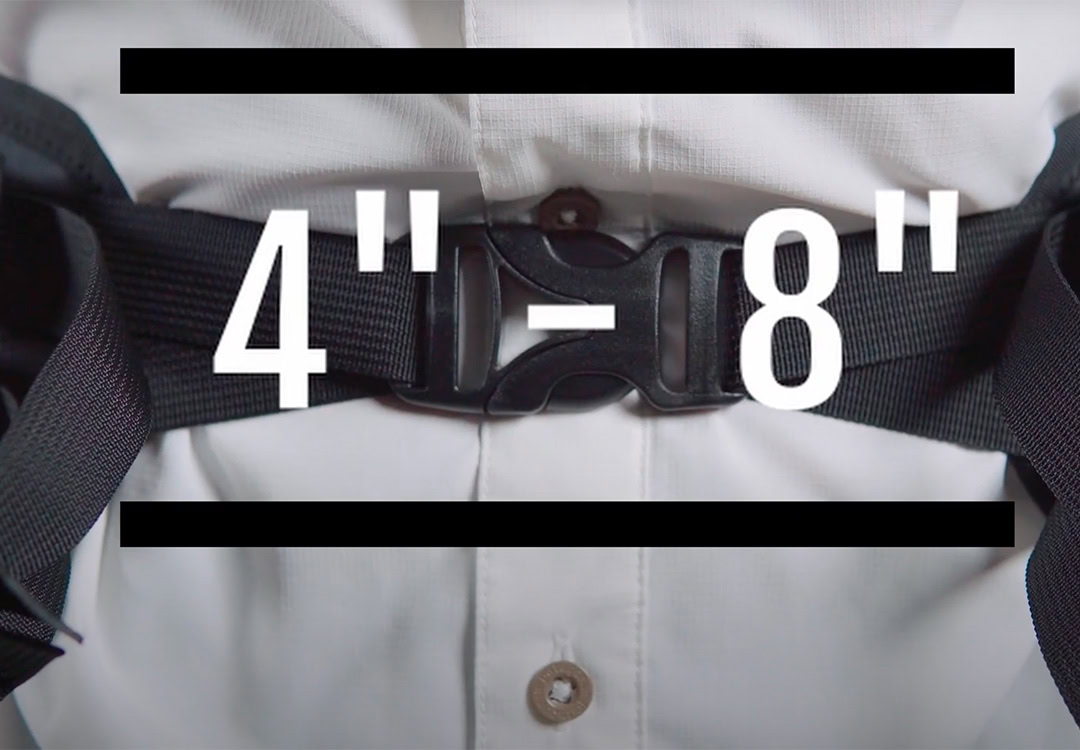
ALLOW 4 – 8 INCHES OF ROOM BETWEEN WINGS FOR WEBBING
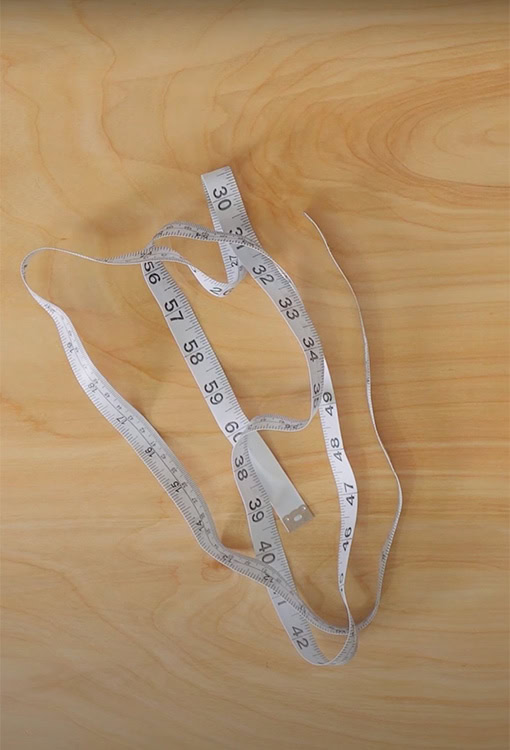
FLEXIBLE MEASURING TAPE IS EASIEST
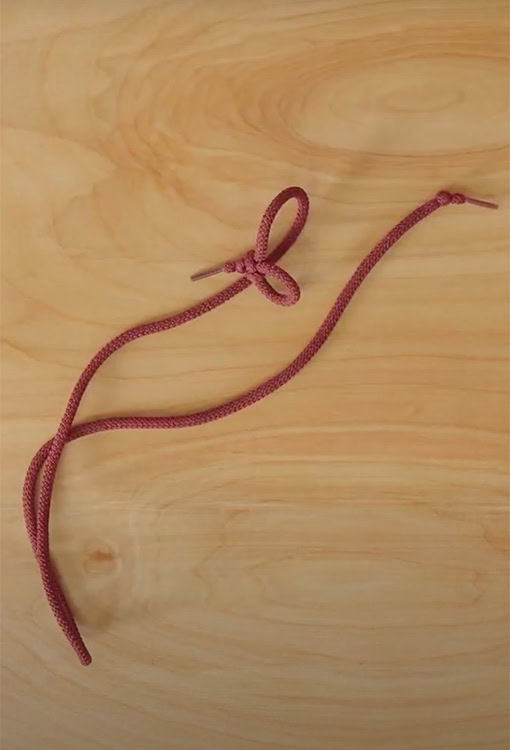
BUT STRING WORKS JUST FINE AS WELL
Step 3: Adjusting the Backpack for a Perfect Fit
- Loosen all straps:
- Start by loosening the shoulder straps, hip belt, and load-lifter straps to ensure a neutral fit.
- Put on the backpack
- Position the hip belt:
- Rest the hip belt on top of your hip bones (iliac crest).
- Tighten the belt so it sits snugly but not uncomfortably tight. The padded portion should wrap around your hips, and the buckle should center over your belly.
- Adjust the shoulder straps:
- Pull the shoulder straps until the pack fits snugly against your back.
- Ensure there’s no gap between the straps and your shoulders.
- Set the load-lifter straps:
- These straps are located above the shoulder straps, connecting the top of the backpack to the pack’s frame.
- Tighten them to create a 45-degree angle between the straps and the backpack.
- Adjust the sternum strap:
- Slide the sternum strap (chest strap) up or down until it’s at a comfortable level. Tighten it to stabilize the shoulder straps without restricting your chest.
Step 4: Test the Fit
- Load the pack:
- Add weight (10–20 lbs for a trial) to mimic real-world conditions.
- Walk and move:
- Walk around, bend forward, and twist side-to-side to ensure the pack stays stable and comfortable.
- Check pressure points:
- Ensure the weight feels balanced and is distributed primarily on your hips and shoulders. If your pack feels wonky but you’ve already triple checked the torso and hip-belt size, check your straps. Ensure your hip-belt straps, shoulder straps, sternum strap, and load-lifters are all pulled evenly and not cockeyed.
- Test your pack in the house:
- Most manufacturers, including us, require a returned pack to be in new condition. This means no dirt or trail miles, when loading up and testing your pack be sure to keep this in mind. Ensure your pack is the proper fit before embarking on your trip.
Final Thoughts
Properly fitting your backpack and measuring your body correctly are critical steps to ensure you enjoy your adventures without discomfort. Take the time to measure carefully, adjust the straps correctly, and test the fit under load. A well-fitted backpack can make the difference between making a successful hike and a bus ride home.
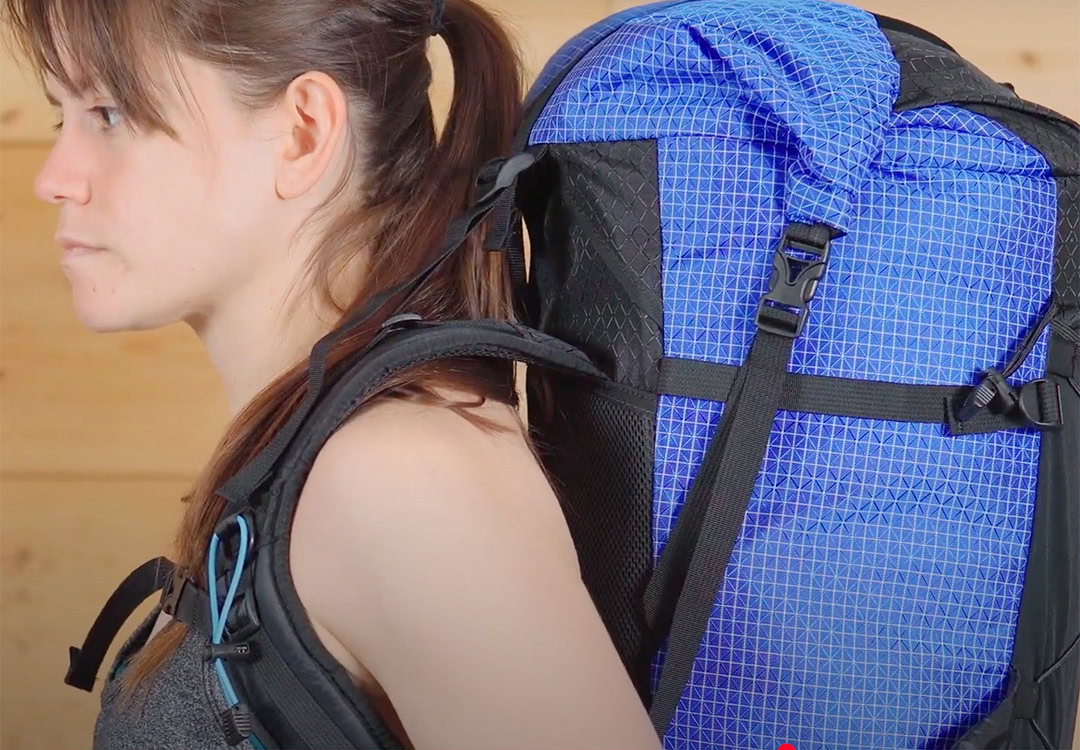
THIS PACK IS TOO TALL FOR LENA CAUSING IT TO LIFT OFF HER SHOULDERS
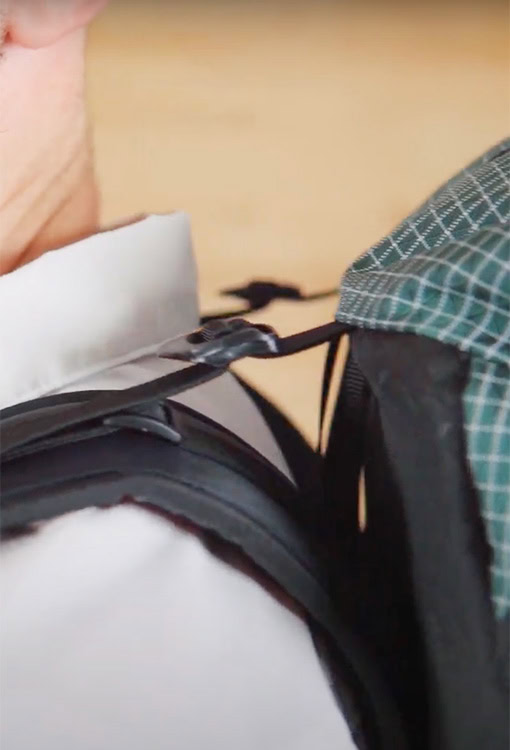
THIS PACK IS TOO SHORT FOR GARRETT’S TORSO
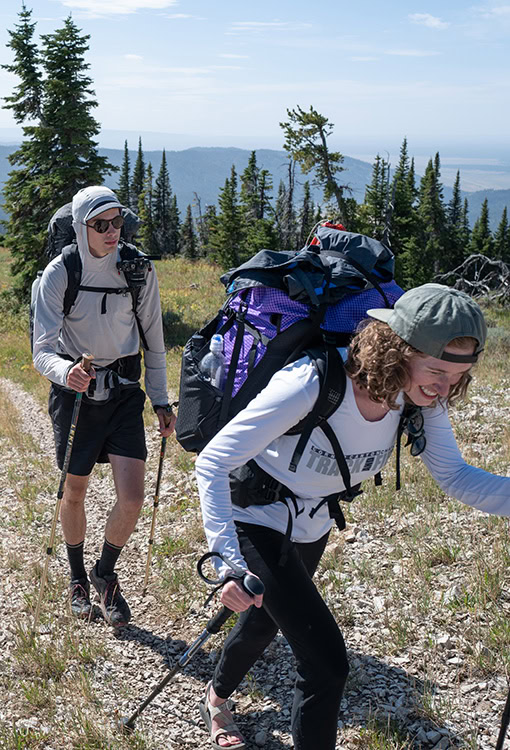
MAKE SURE IT FITS BEFORE YOU GET OUT HERE
Ensuring proper pack fit before setting out on trail ensure a successful and comfortable hike.


0 Comments