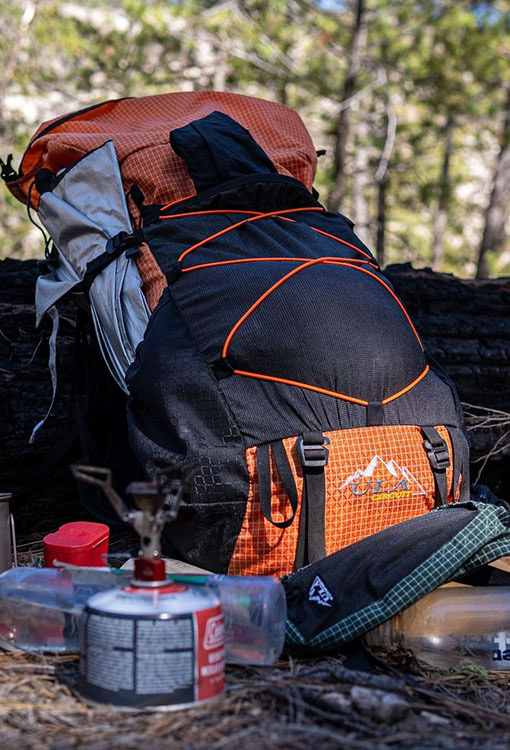
GETTIN’ DIRTY ON THE ARIZONA TRAIL
How to Properly Wash and Store Your Backpack After Camping
Backpacking adventures can be exhilarating—exploring nature, unwinding in serene environments, and escaping the bustle of daily life. But after every great adventure comes the inevitable clean-up. Your backpack, having braved dirt, sweat, and perhaps rain, needs proper care to ensure it’s ready for your next trip. Cleaning and storing it correctly will prolong its life and maintain its performance.
Here’s a step-by-step guide on how to wash and store your backpack after camping:
Step 1: Empty Your Backpack
Before starting the cleaning process, completely empty your backpack. Check all compartments, pockets, and pouches. Remove all personal items, and make sure to shake out dirt, sand, or small debris that may have accumulated inside.
If your backpack has a metal frame stay or detachable components like a delrin hoop or removable back panel, remove those as well. We suggest removing the hip-belt to clean separately. This will make it easier to clean every part of your backpack.
We also recommend loosening all load lifters and straps during this process.
Step 2: Pre-Clean the Backpack
After hiking, your backpack is likely to have dirt, grime, or even food stains. Before washing it, you’ll want to give it a good once-over. Use a soft brush or cloth to gently scrub off dried mud and dirt. Pay close attention to areas like the zippers, straps, and seams, where debris tend to gather.
If there’s stubborn dirt, you can use a vacuum to remove crumbs or tiny particles lodged in tight spaces.
Step 3: Spot Treat Stains
Check for stains, such as grease, sweat marks, or sap from trees. For spot cleaning, mix a solution of mild soap (preferably non-detergent) and warm water. Dip a cloth or soft-bristle brush into the soapy water and gently scrub the stained areas. Avoid using harsh chemicals like bleach or stain removers, as these can damage the fabric or its water-resistant coatings.
Sap and sticky substances can be particularly tough. If you encounter these, rubbing alcohol can help dissolve them, but be careful to test it on a small, inconspicuous area first.
Step 4: Hand Wash the Backpack
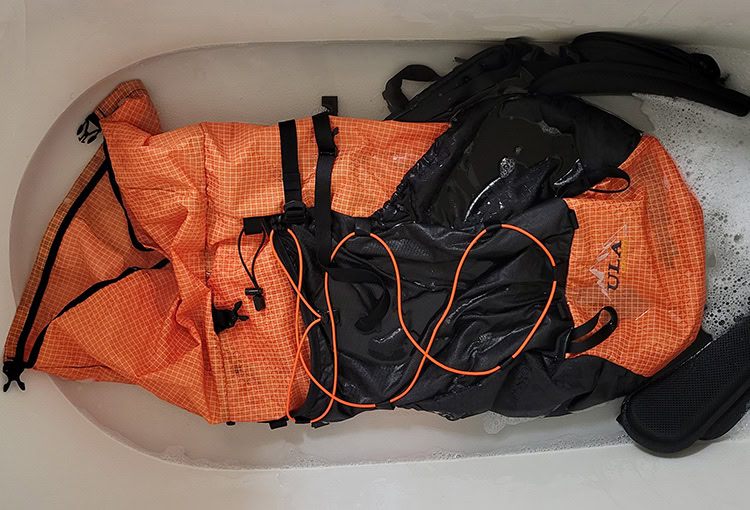
Most backpacks shouldn’t be machine-washed, as it can damage the fabric, zippers, and any waterproof coatings. Instead, fill a tub, sink, or large bucket with lukewarm water and a small amount of gentle soap. Submerge the backpack, using your hands or a soft sponge to scrub it gently, paying special attention to areas like the back panel and straps, which tend to absorb sweat and oils.
Be careful not to over-saturate the backpack, especially if it has padding, as this can take longer to dry.
Step 5: Rinse Thoroughly
Once the backpack is cleaned, empty the tub and rinse the backpack thoroughly with clean water. Ensure there is no soap residue left behind, as leftover soap can degrade the fabric over time. If you find that rinsing under running water isn’t enough, you may need to fill the tub with clean water and submerge the backpack again.
Step 6: Dry It Properly
Drying your backpack properly is crucial to prevent mildew and unpleasant odors. Never place your backpack in a dryer, as high heat can warp or melt certain components. Instead, follow these steps:
- Air dry: Hang the backpack upside down in a well-ventilated area, away from direct sunlight. Sunlight can fade and weaken the fabric over time.
- Open compartments: Leave all zippers open so that air can circulate and dry out every corner of the pack.
- Check for moisture: Check inside the backpack and in the padding to ensure it’s fully dry before storing.
For quicker drying, you can use a fan to speed up the process or stuff the bag with towels to help absorb moisture.
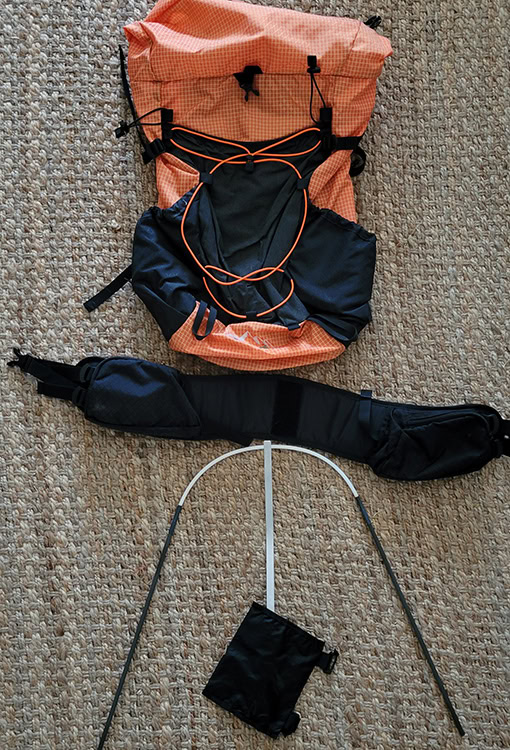
ALL COMPONENTS REMOVED
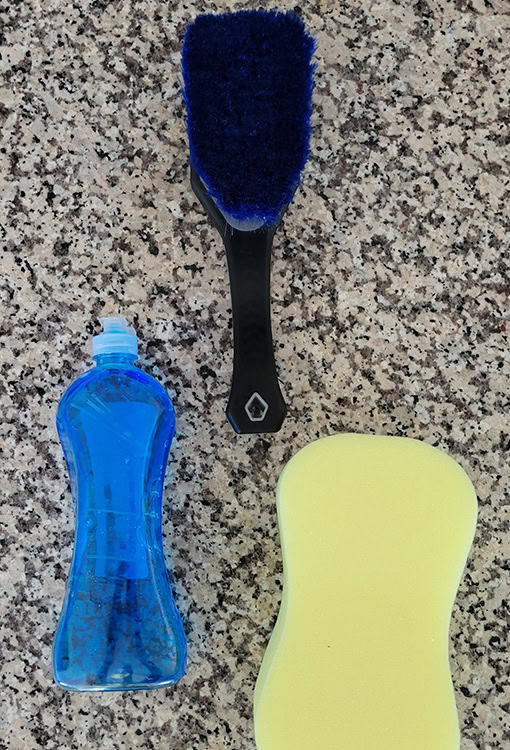
A SIMPLE TOOLKIT: BRUSH, SOAP, SPONGE
Step 7: Store the Backpack Properly
Once your backpack is clean and dry, it’s time to store it. Proper storage will prevent unnecessary wear and ensure it’s in good condition for your next adventure.
- Avoid Compression: Don’t store your backpack in a compressed state, as this can damage the shape, particularly the padding in shoulder straps and the back panel. Instead, store it upright or hang it by the haul-loop at the top, allowing the pack to maintain its structure. Be sure all of your load lifters and straps are loose when storing.
- Cool, Dry Place: Store your backpack in a cool, dry area. Avoid attics, basements, or areas with extreme temperatures or humidity, as these can degrade the fabric or promote mold growth.
Step 8: Inspect and Maintain
Before storing your backpack, take a few minutes to inspect it for any signs of wear and tear. Check the seams, zippers, and straps for any damage. If you find a problem, it’s best to repair it sooner rather than later. We offer a repair service on every ULA-Equipment backpack and can handle most every repair. You can read that detailed breakdown here.
Additionally, if your backpack has a waterproof coating, which is common amongst our Robic material, you may want to reapply a durable water repellent (DWR) spray after washing to maintain its water resistance.
Conclusion
Properly washing and storing your backpack after backpacking is an easy step that most overlook and ensures it will last longer and perform better on future trips. A well-maintained backpack not only looks good but also stays more comfortable and functional for all your outdoor adventures. With these easy-to-follow steps, you can protect your gear investment and always be ready for the next great escape. Happy hiking!
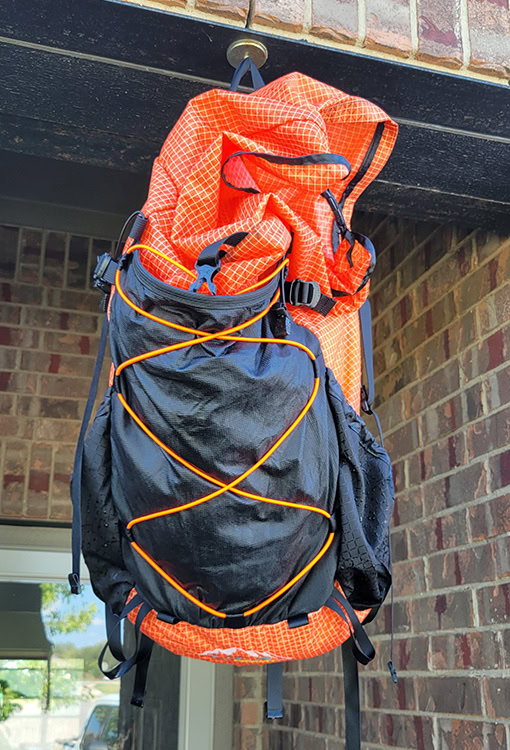
WET CIRCUIT STUFFED WITH TOWELS TO DRY.
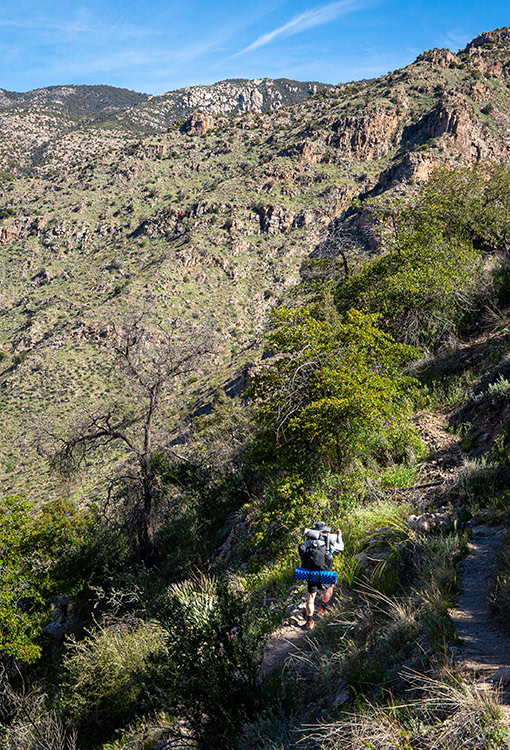
ARIZONA TRAIL
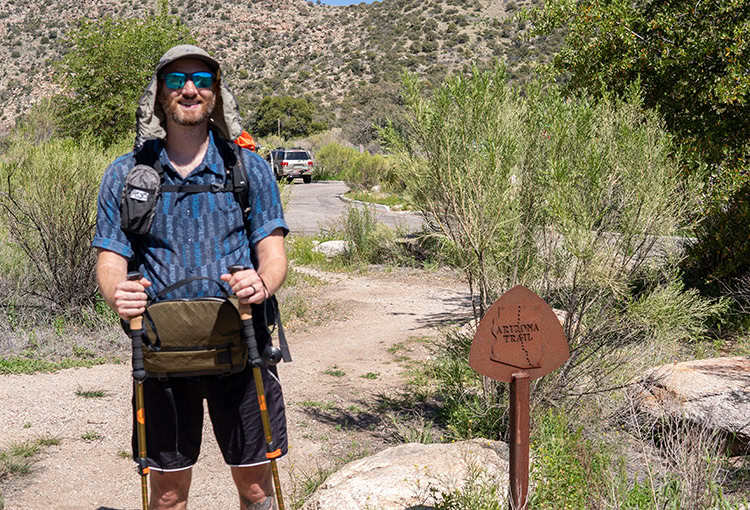
GARRETT’S A HAPPY CAMPER
Washing your backpack and taking proper care ensures a long and happy lifetime of adventure with your gear.


Excellent article! Will begin the process on my ULA circuit. After my 2024 NOBO AT thru hike my pack certainly needs a good bath! Thank you!
Thanks Jodi! It was fun to put together and have a great time on your Thru-Hike! I met my wife on our 2018 NOBO AT hike at the Fontana Dam Shelter. It’s going to change your life! Good Luck!
– Garrett “Price Point” AT NOBO ’18
If you can’t put the pack in the dryer, is there an alternative way to treat bedbugs?
Hey Carrie, getting some Diatomaceous earth and putting it inside all of the seam-lines and pockets, then storing the pack in a bucket with Diatomaceous earth sprinkled in and closing the lid would be the least intrusive thing for the materials. It essentially dries out the exoskeleton and kills them. Hope this helps!
– Garrett